
Managing Submissions
Managing Submissions
Every form submission is stored, searchable, and exportable. This guide covers viewing, filtering, exporting, and managing response data.
Viewing Submissions
-
1
Go to Forms in the sidebar
Click Forms to see all your organization's forms. ::
-
2
Click your form name
Open the form you want to review submissions for. ::
-
3
Click Submissions in the form navigation
The submissions table loads with the most recent responses at the top. ::
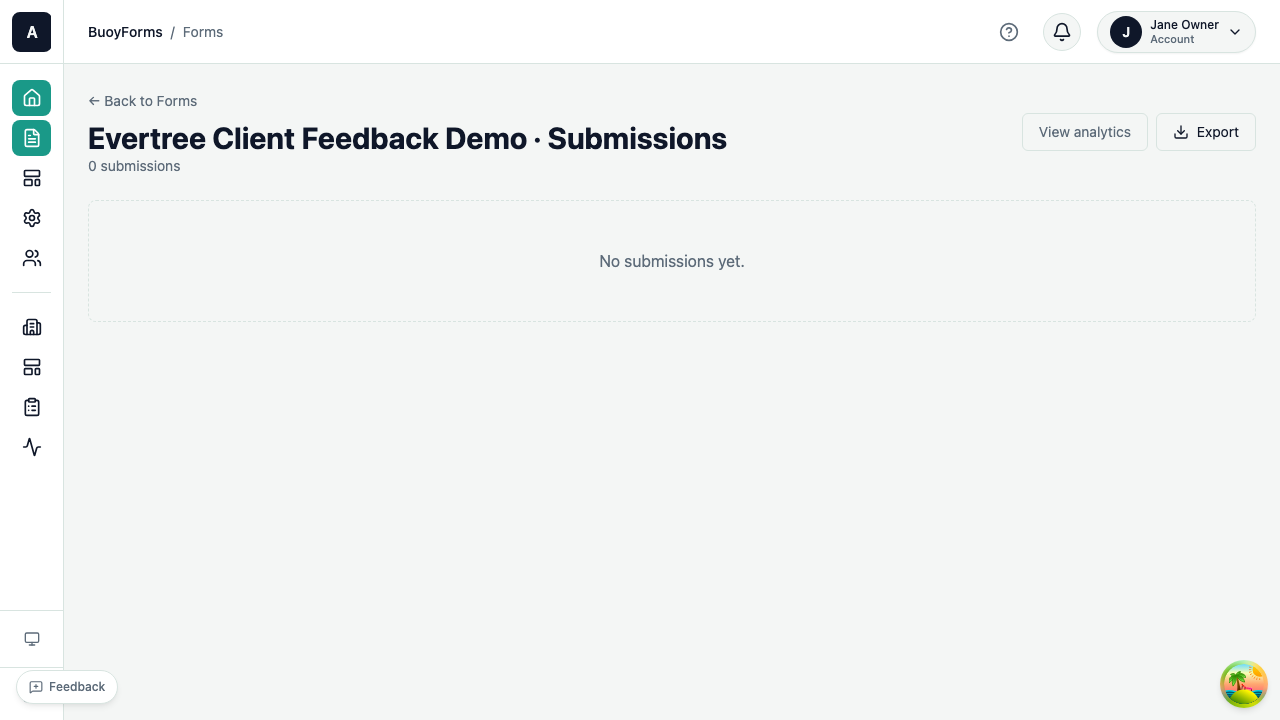
The submissions table shows:
| Column | Description |
|---|---|
| Date | When the response was submitted |
| Status | Completed or in-progress |
| Key fields | The first few field values as preview columns |
| Actions | View details, delete |
Submission Detail View
Click any row to see the full response:
- Every field label and the respondent's answer
- Submission metadata (timestamp, IP, user agent, page flow)
- File attachments (if the form has file upload fields)
Sensitive Responses
Structured sensitive fields such as SSN, EIN, and DOB are handled differently from normal answers:
- Submission detail screens show redacted values by default.
- Exports, public API responses, notifications, and webhooks stay redacted by default even if an operator can reveal values in the app.
- Free-text
Text InputandText Areafields can warn or block likely sensitive sequences when the builder enables the guardrail.
Filtering and Searching
Use filters above the table to narrow results:
| Filter | Description |
|---|---|
| Date range | Submissions within a specific time period |
| Status | Completed submissions only, or include in-progress |
| Field values | Filter by specific answers (e.g., NPS score > 8) |
| Search | Full-text search across email, name, and answer text |
Sorting
Click any column header to sort:
- Date — newest first or oldest first
- Field columns — alphabetical or numeric sort
Exporting Data
Quick Export
-
1
Click Export above the submissions table
The export dialog opens with format and field options. ::
-
2
Choose format: CSV, Excel, or JSON
Pick the format that works best for your workflow. ::
-
3
Select which fields to include
Check or uncheck fields to control what appears in the export file. ::
-
4
Click Download
The file downloads to your computer immediately. ::
Best for spreadsheet tools like Excel or Google Sheets. Compatible with virtually any data tool. ::
Native .xlsx format with proper column types. Ideal if you're working directly in Microsoft Excel.
::
Structured data format for developers. Useful for importing into databases or custom analytics pipelines. ::
Submission Actions
Viewing
Click a submission row to see the full response detail. If the form has a Salesforce integration, the detail page shows the latest Salesforce sync status, attempt number, error message, and record link when Salesforce returns one. Failed Salesforce syncs can be retried from this page by users who can manage integrations.
Deleting
- Single submission: Click the row menu, then Delete
- Bulk delete: Apply filters, then click Delete filtered submissions (requires Admin role)
Redacting
For privacy compliance (GDPR, CCPA):
- Redact replaces answer text with
[REDACTED]while preserving the submission record - Audit log tracks who redacted and when
- Use for removing personal data while keeping aggregate statistics
Reveal auditing
Sensitive-value reveals are separate from irreversible redaction:
- Redaction permanently removes data from the submission record.
- Reveal is a permission-gated read action for already-protected sensitive values.
- Audit logs record both
submission.sensitive_revealandsubmission.sensitive_reveal_denied.
See Audit Logs for reviewing operator activity.
Incomplete Sessions
Track respondents who started your form but didn't finish:
-
1
Go to Submissions
Open the submissions view for your form. ::
-
2
Click the Incomplete tab
Switch from completed submissions to the incomplete sessions view. ::
-
3
Analyze drop-off patterns
See which page or field respondents stopped at and identify friction points. ::
Incomplete session data helps you:
- Find confusing or friction-heavy fields
- Optimize form length and page structure
- Understand where respondents lose interest
Webhooks
Send submission data to external systems in real time.
-
1
Go to Settings or Integrations
Open the form's Settings or Integrations section. ::
-
2
Click Add Webhook
Start configuring a new webhook endpoint. ::
-
3
Enter the destination URL
Provide the URL where submission data should be sent. ::
-
4
Select events
Choose which events trigger the webhook:
submission.created,submission.updated. :: -
5
Click Save
The webhook is active immediately for new submissions. ::
Each webhook POST includes the full submission payload as JSON. Failed deliveries retry with exponential backoff (up to 5 attempts).
Advanced: Webhook payload structure
The webhook payload includes the submission ID, form ID, all field values, submission metadata (timestamp, IP, user agent), and the event type. The Content-Type header is set to application/json. You can verify webhook authenticity using the X-BuoyForms-Signature header included with each delivery.
See Integrations for connecting to Salesforce, Zapier, Google Sheets, and more.